Setting up Saturn 1000
1. Configure the payment terminal
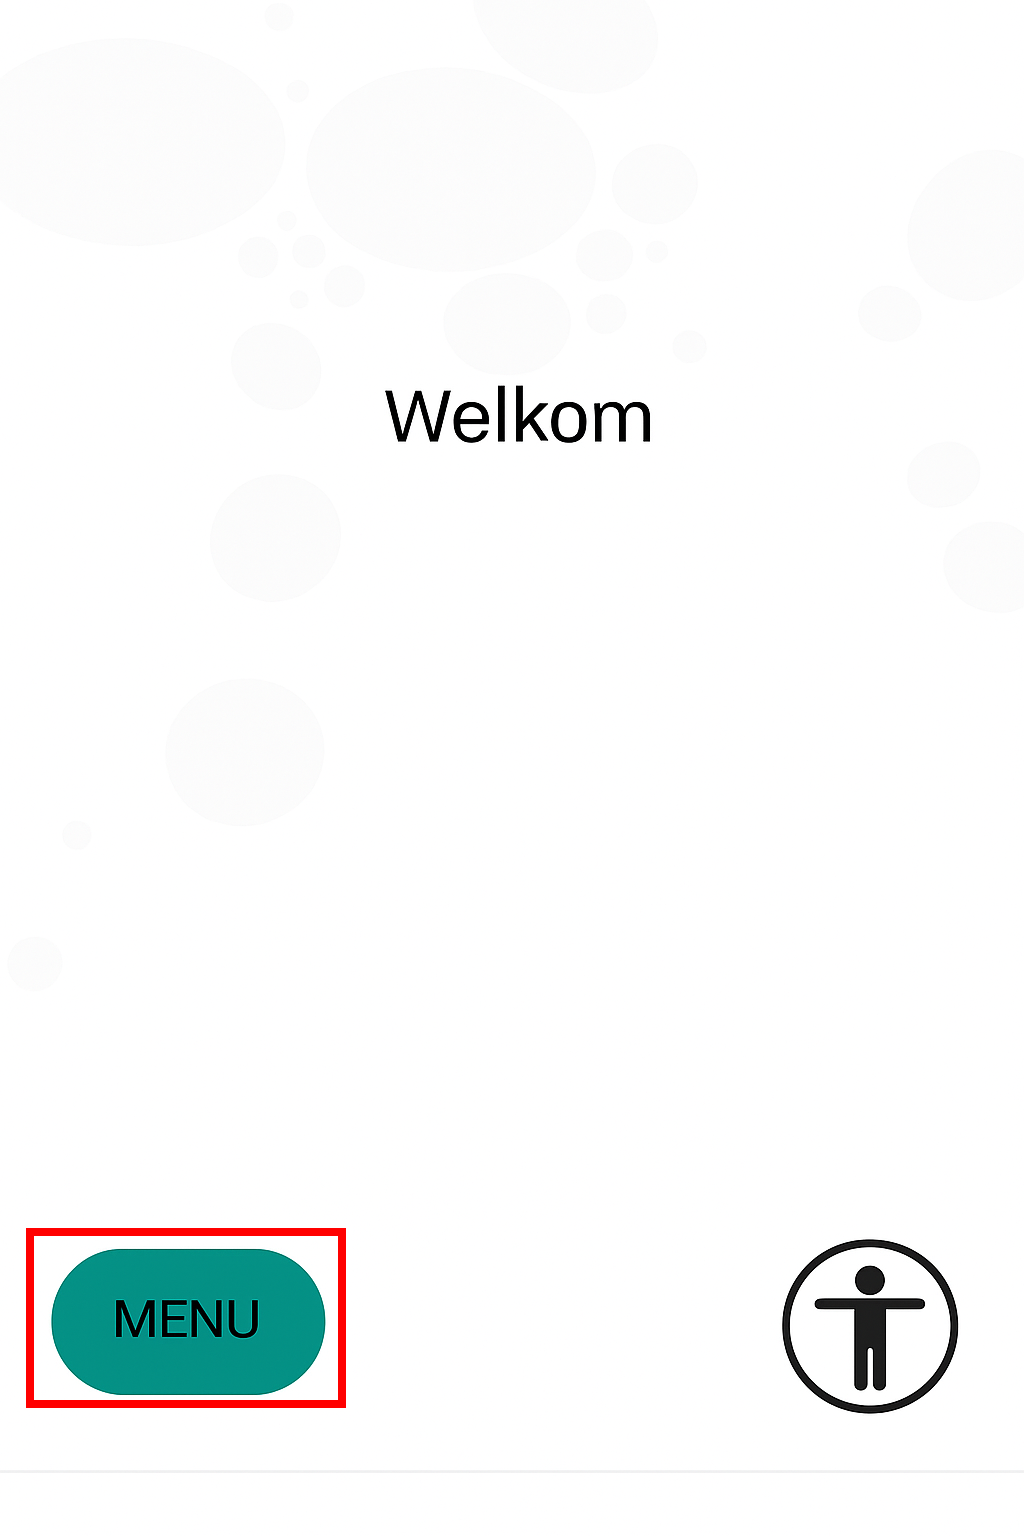
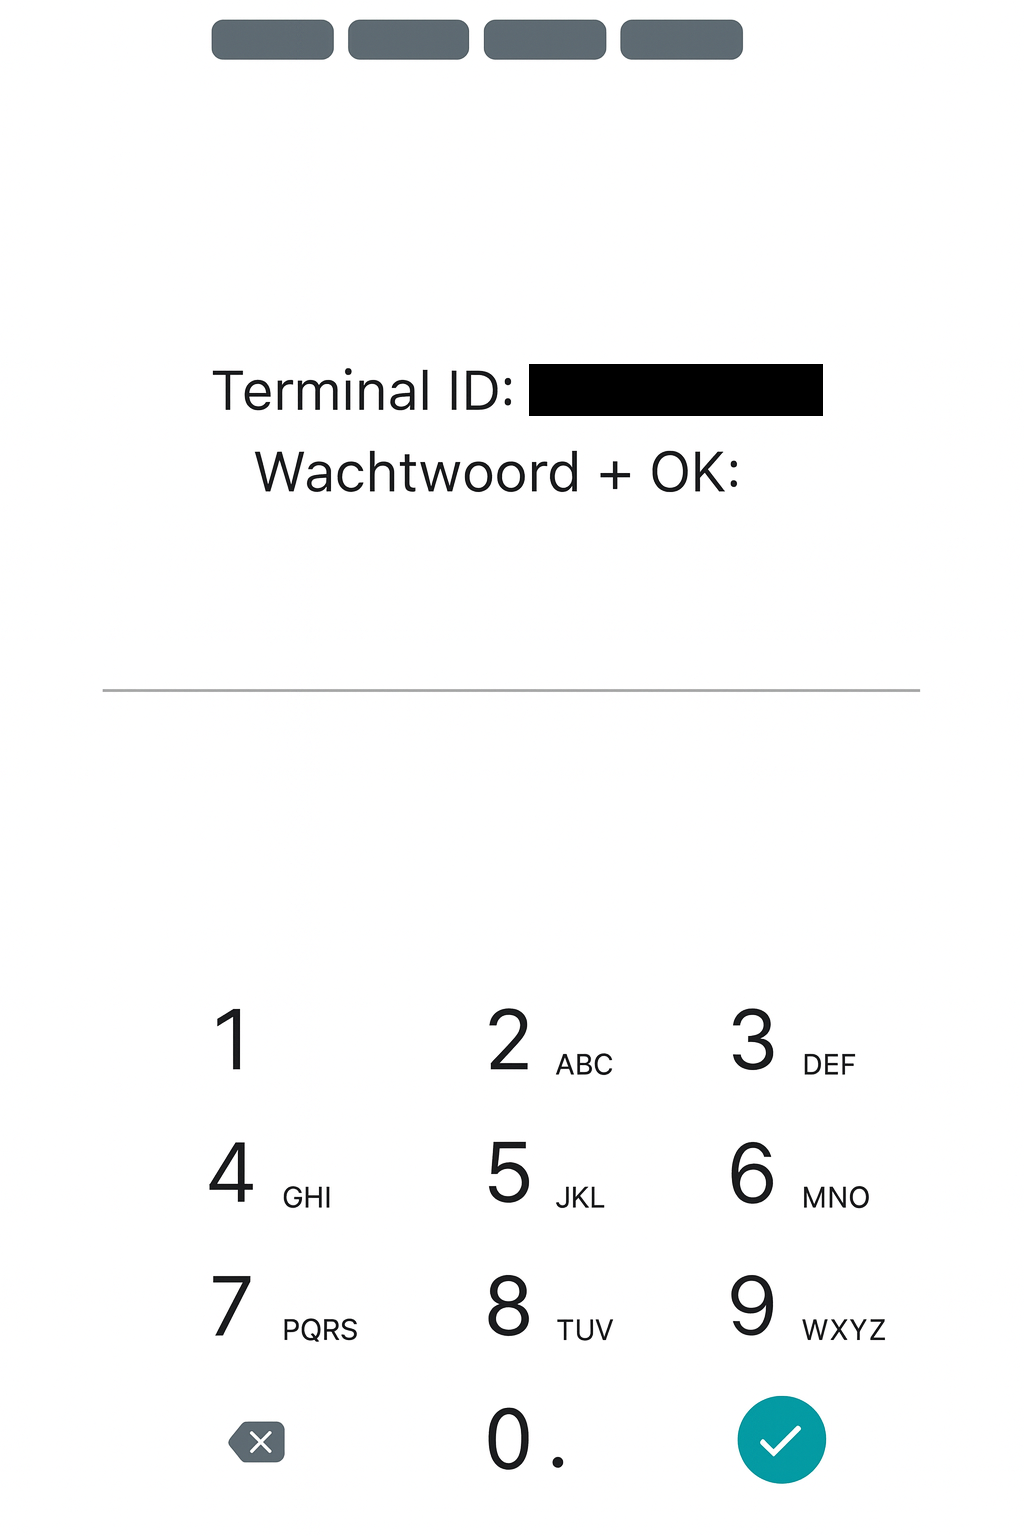
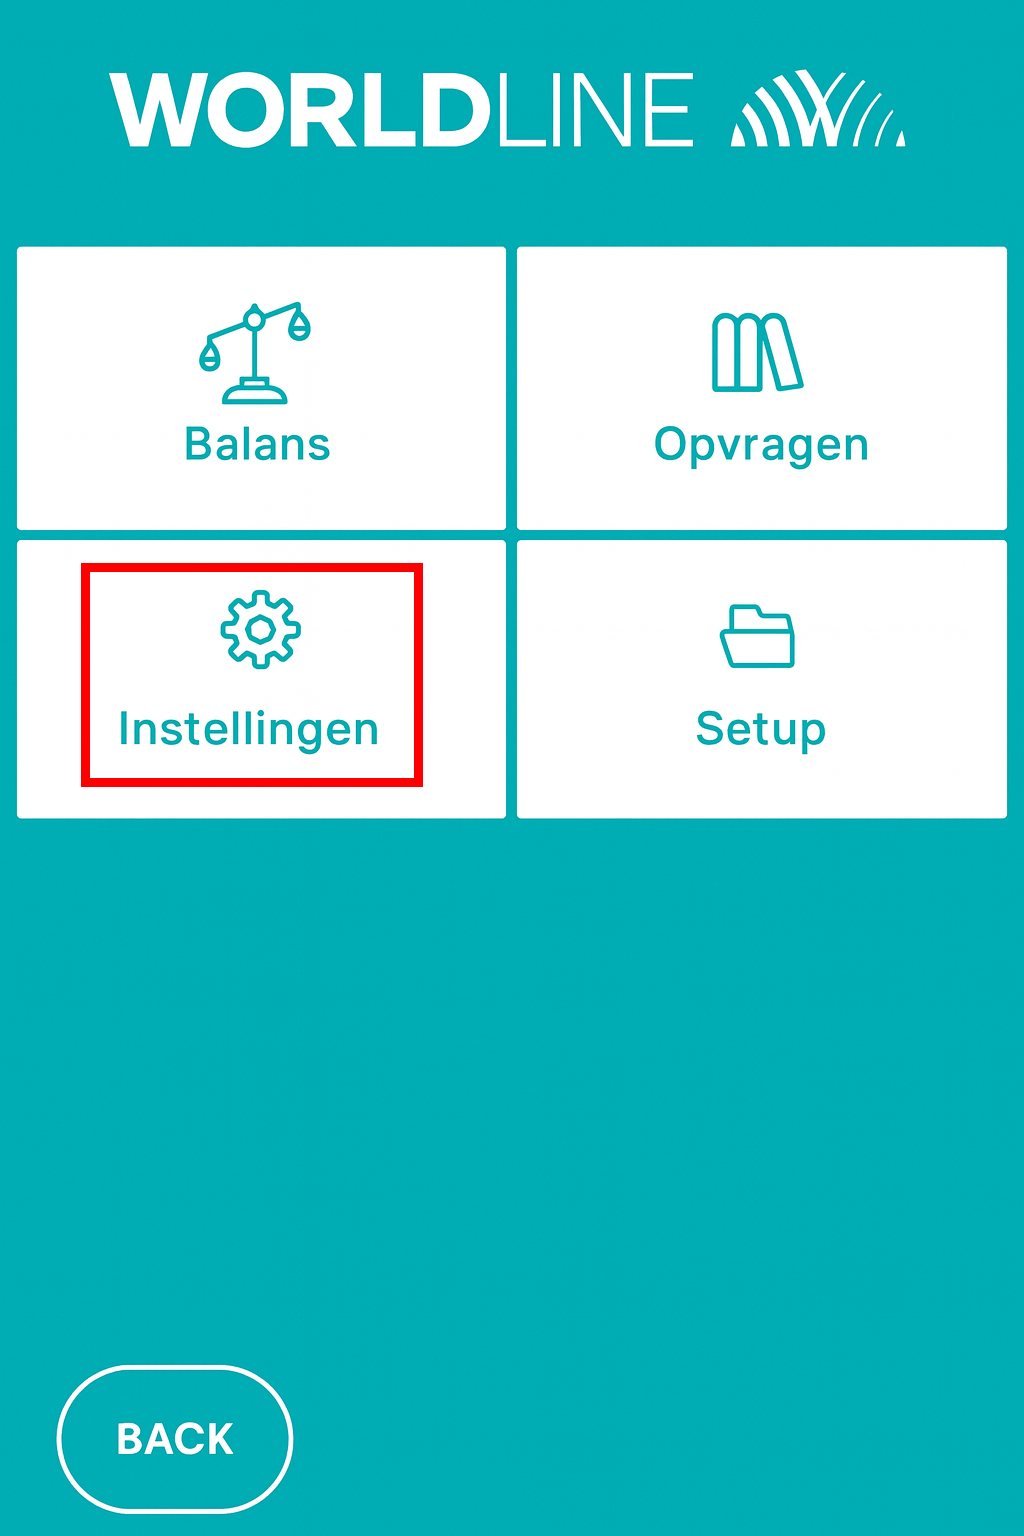
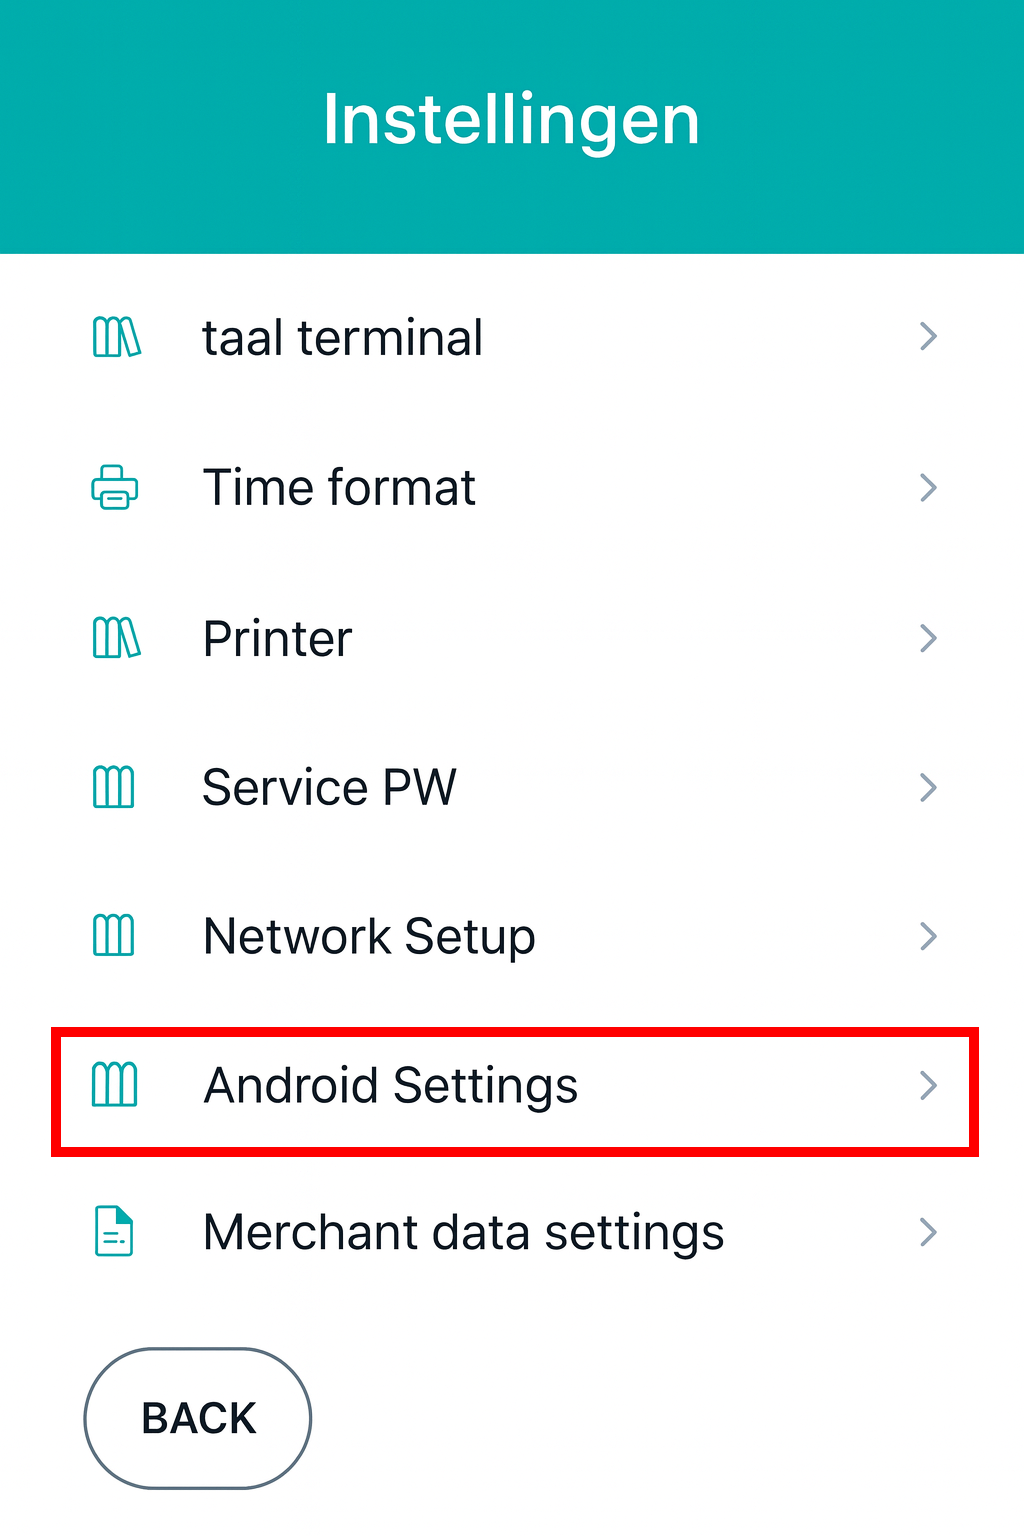
| 1. Restart the device. To do this, hold down the power button on the left side for a few seconds. | 2. Press the “MENU” button. The password is 83493. | 3. Press “Settings.” |
 |  |  |
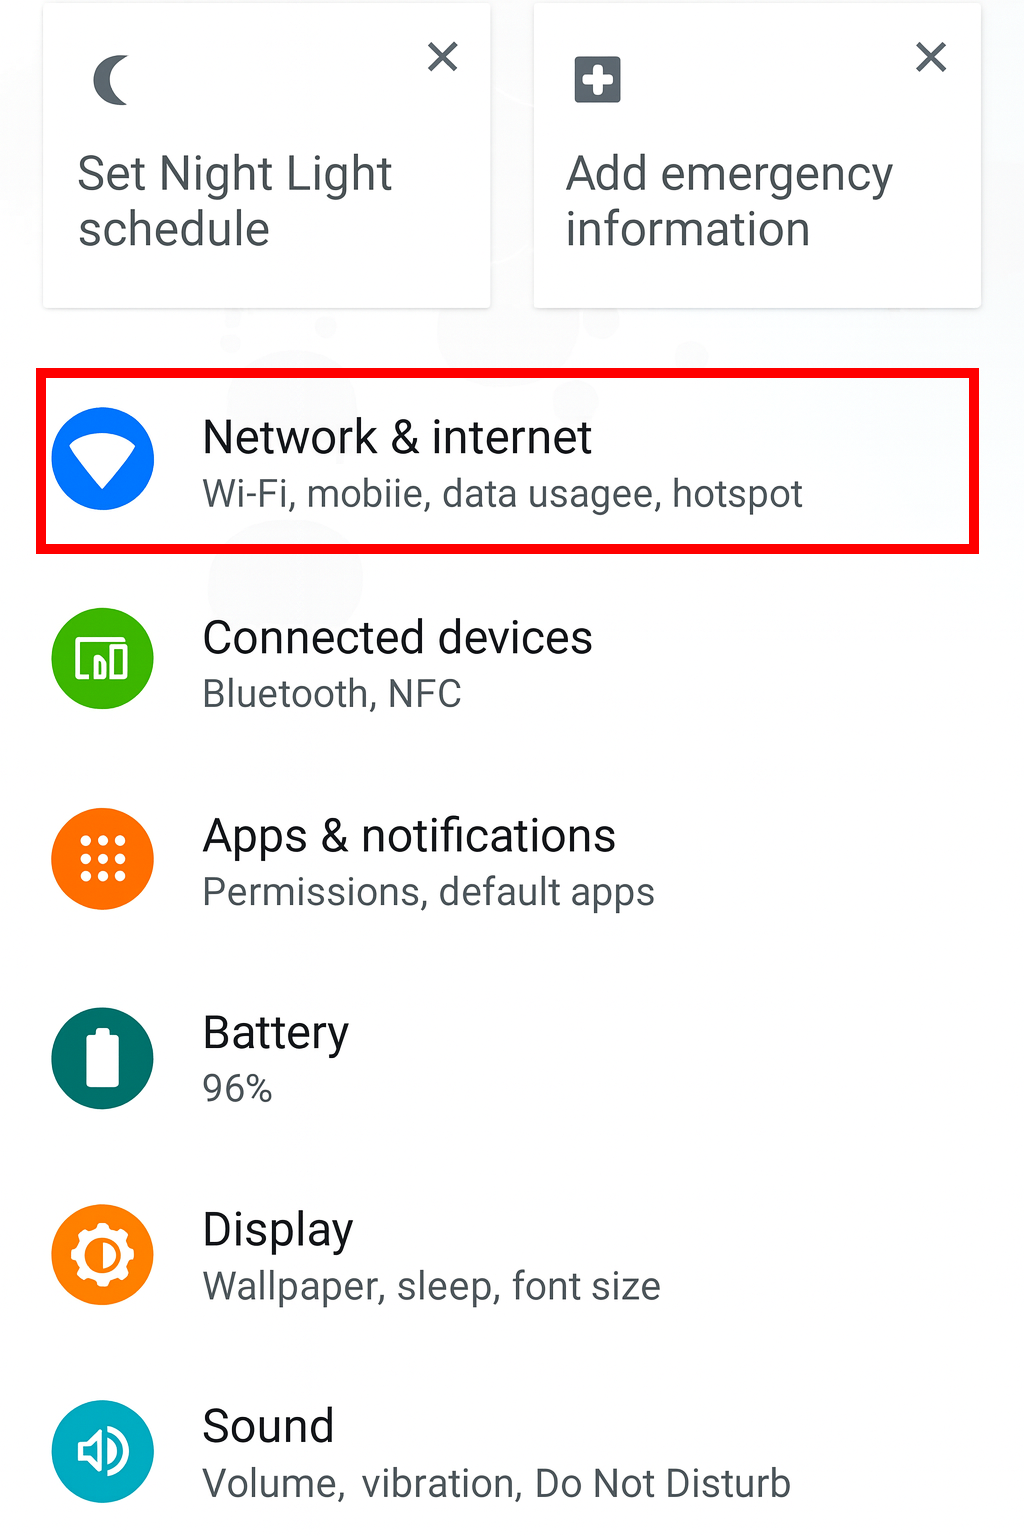
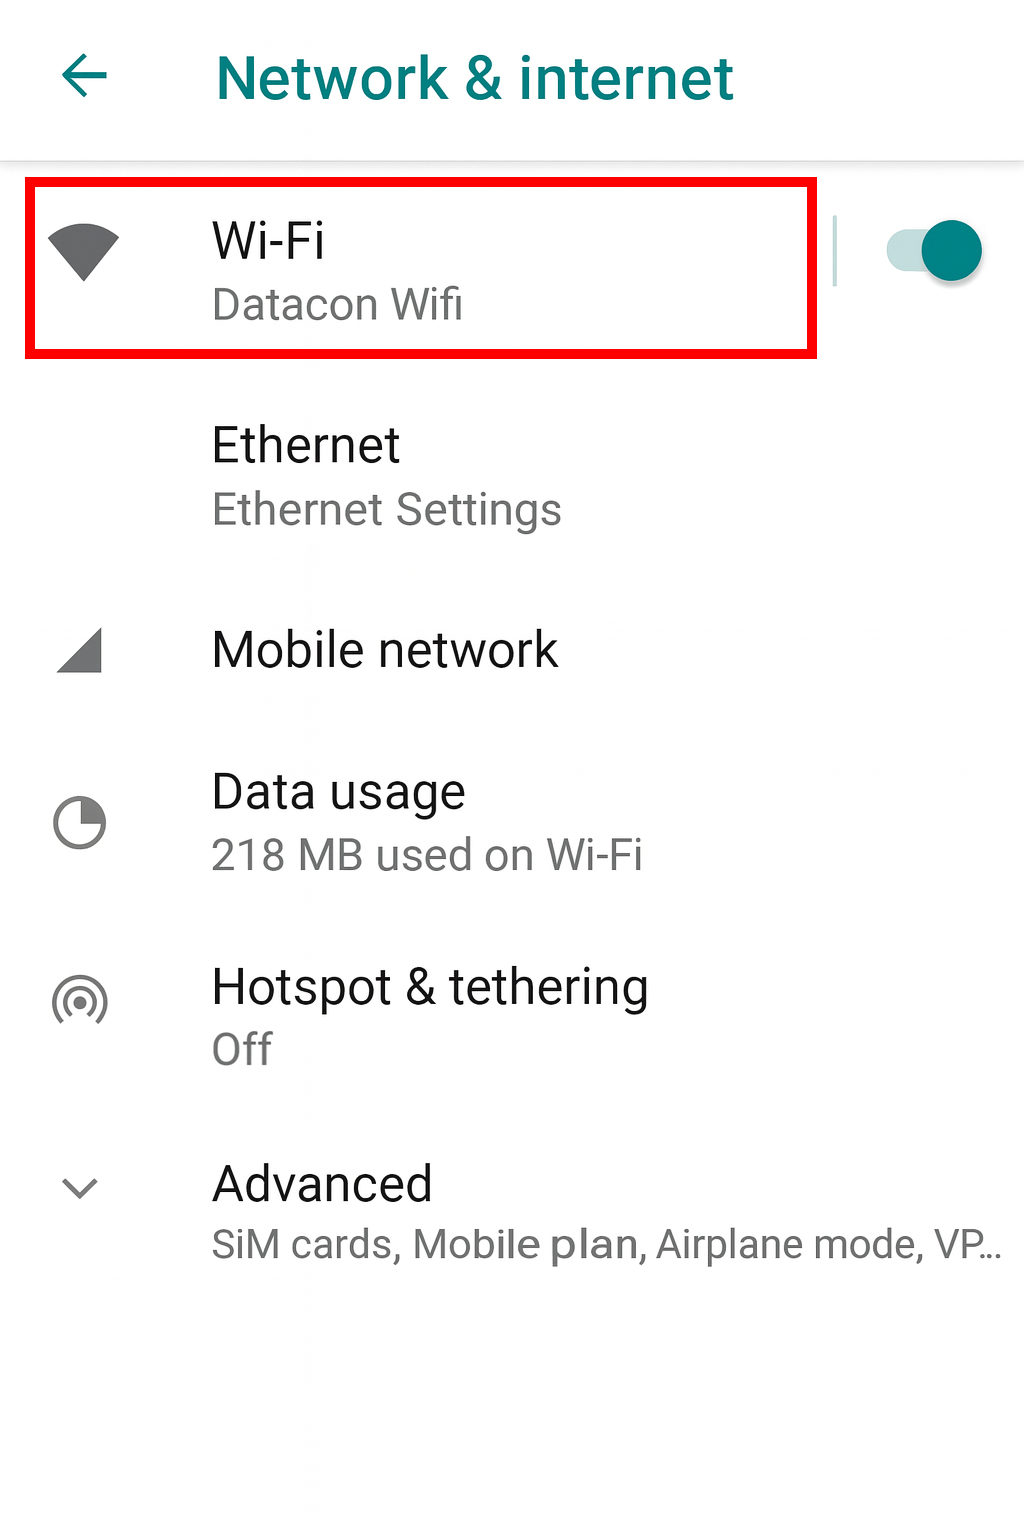
| 4. Next, press “Android Settings.” | 5. Go to “Network & Internet.” | 6. Go to “Wi-Fi.” |
 |  |  |
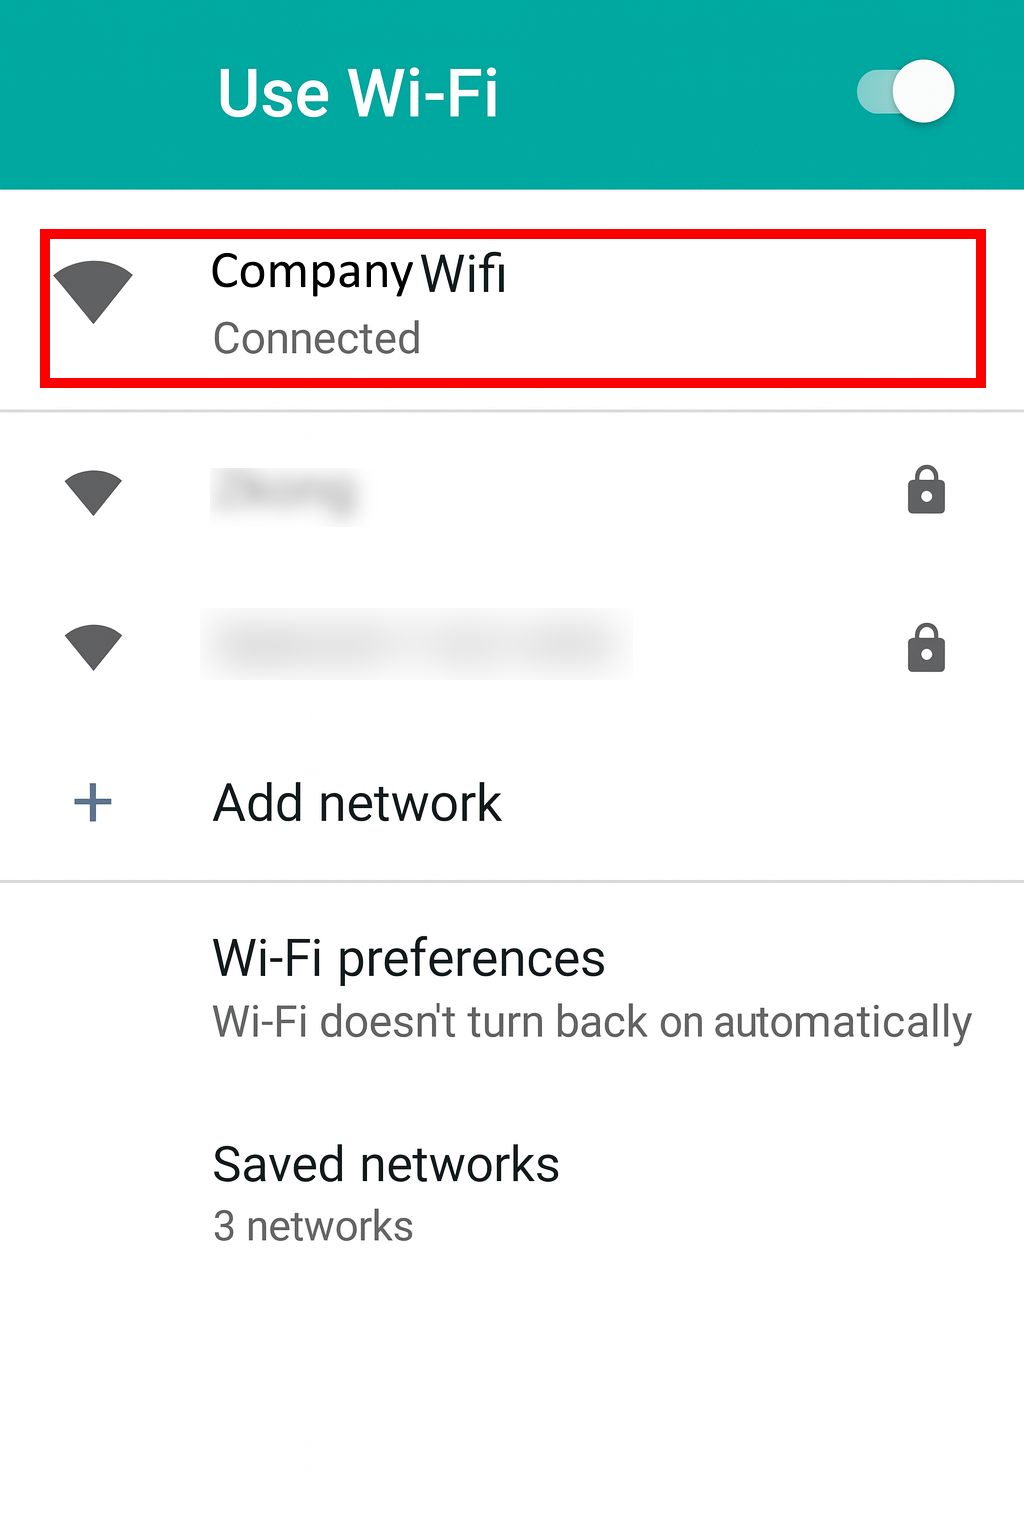
| 7. Select the wireless network you want to connect to, then tap on the network name to view its details. | 8. Expand the “Advanced” section at the bottom of the page. | 9. Write down your IP address, gateway, and DNS — you will need these later. |
 | 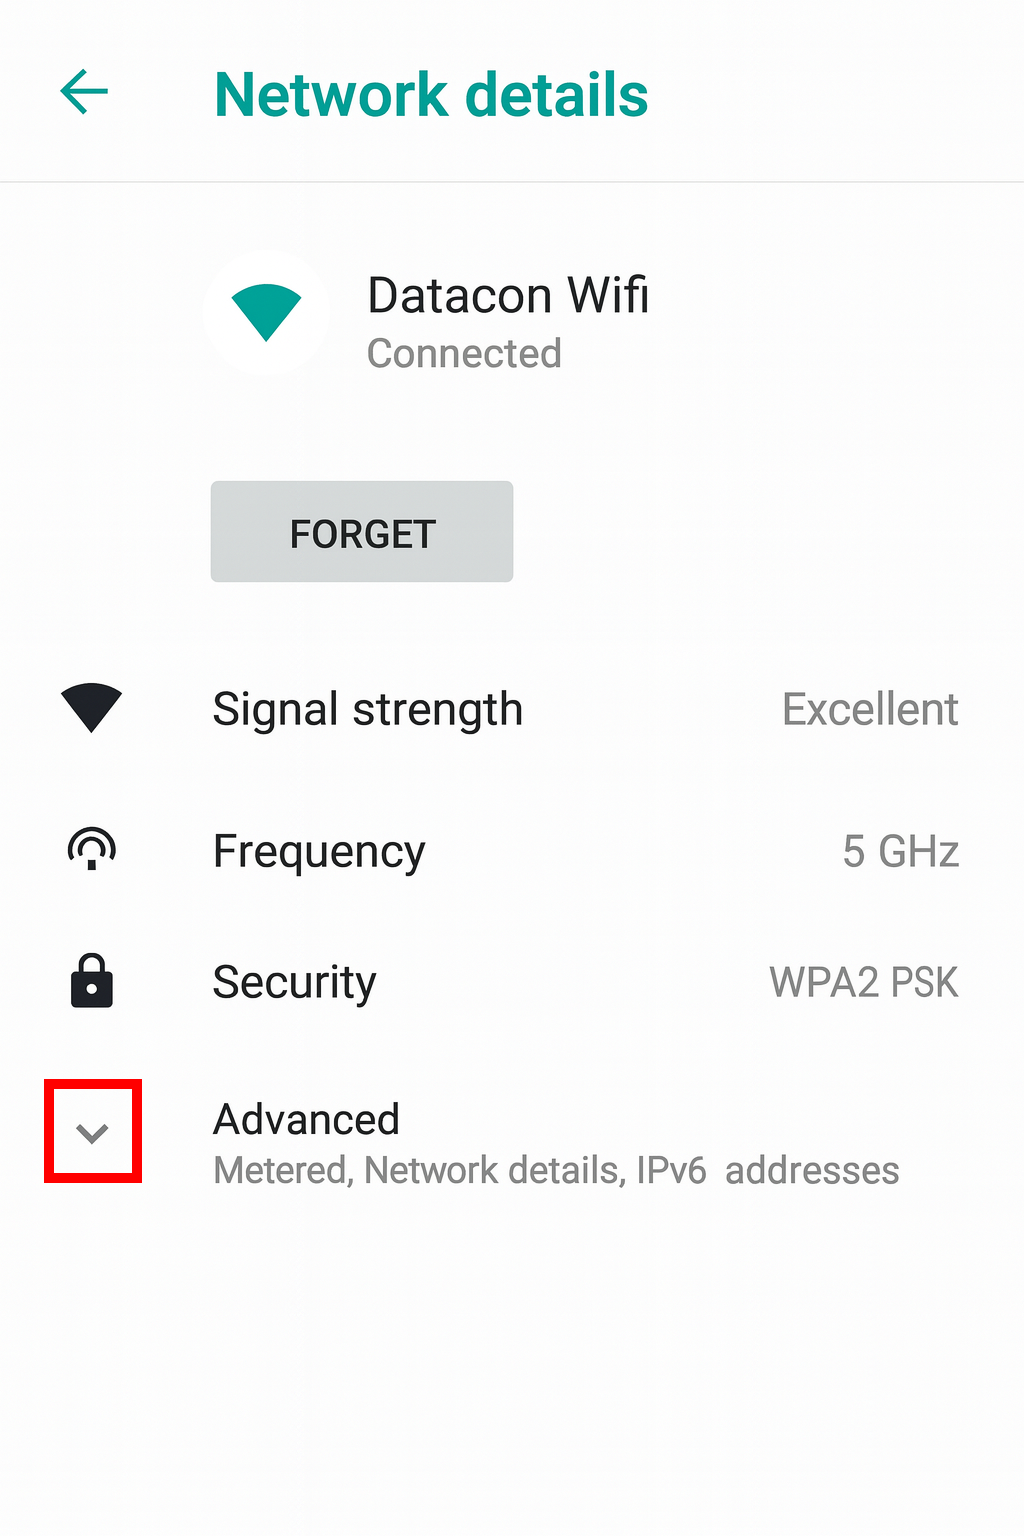 | 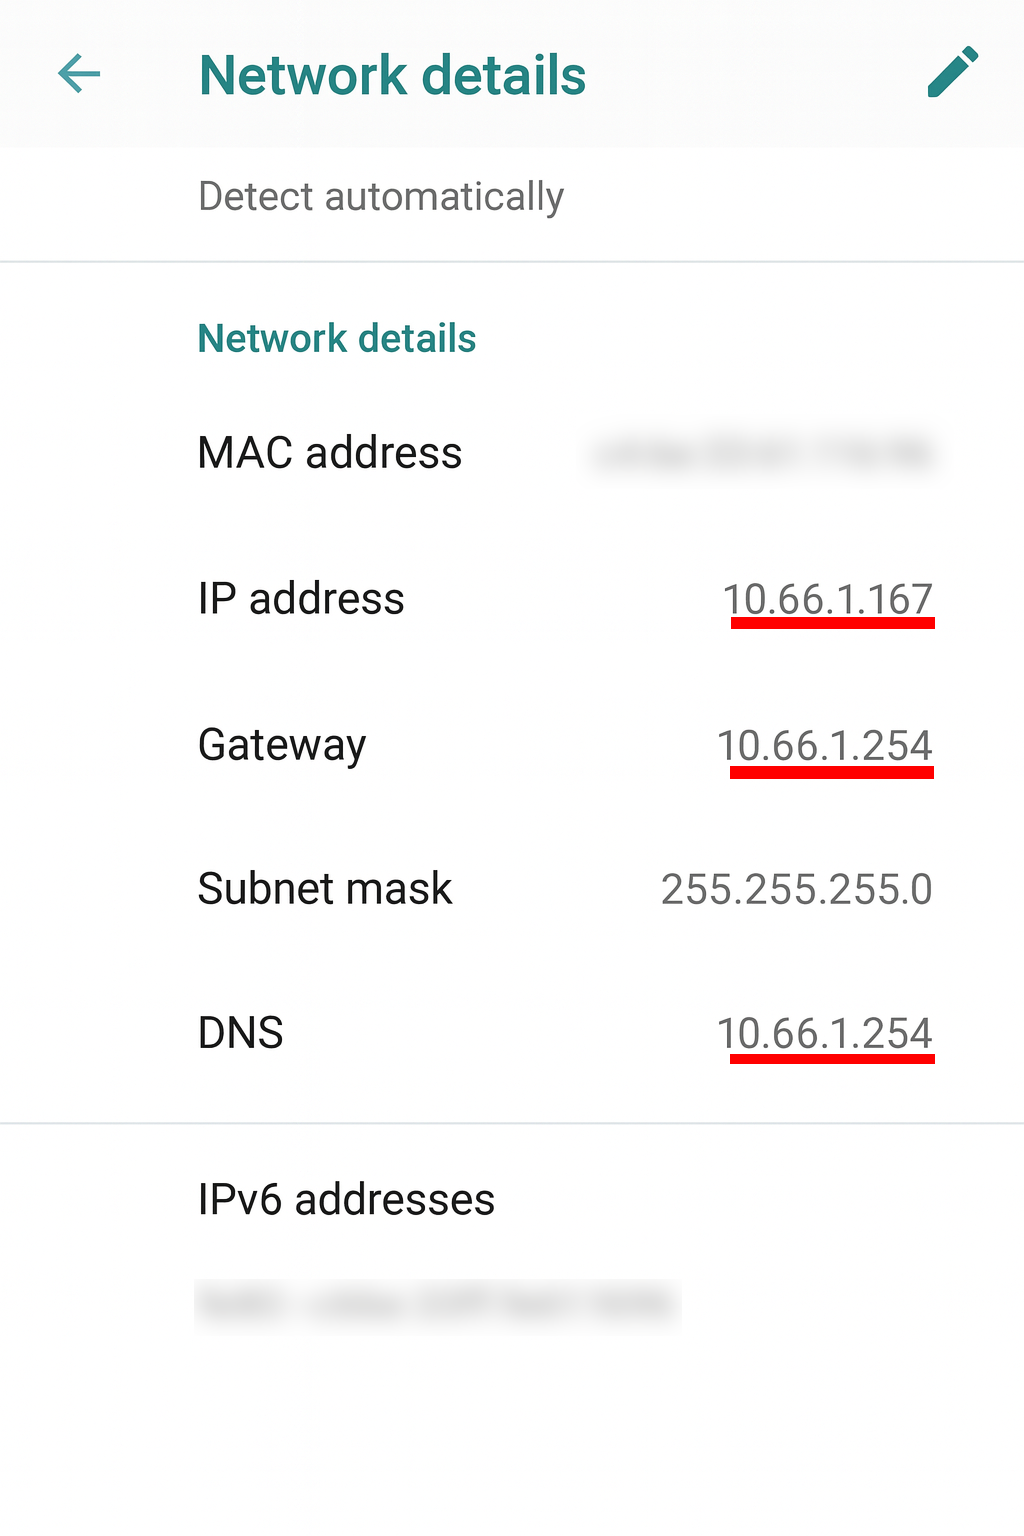 |
| 10. Tap the pencil icon in the top-right corner to edit the network. | 11. Expand the “Advanced options” section. | 12. Set “IP settings” to “Static.” |
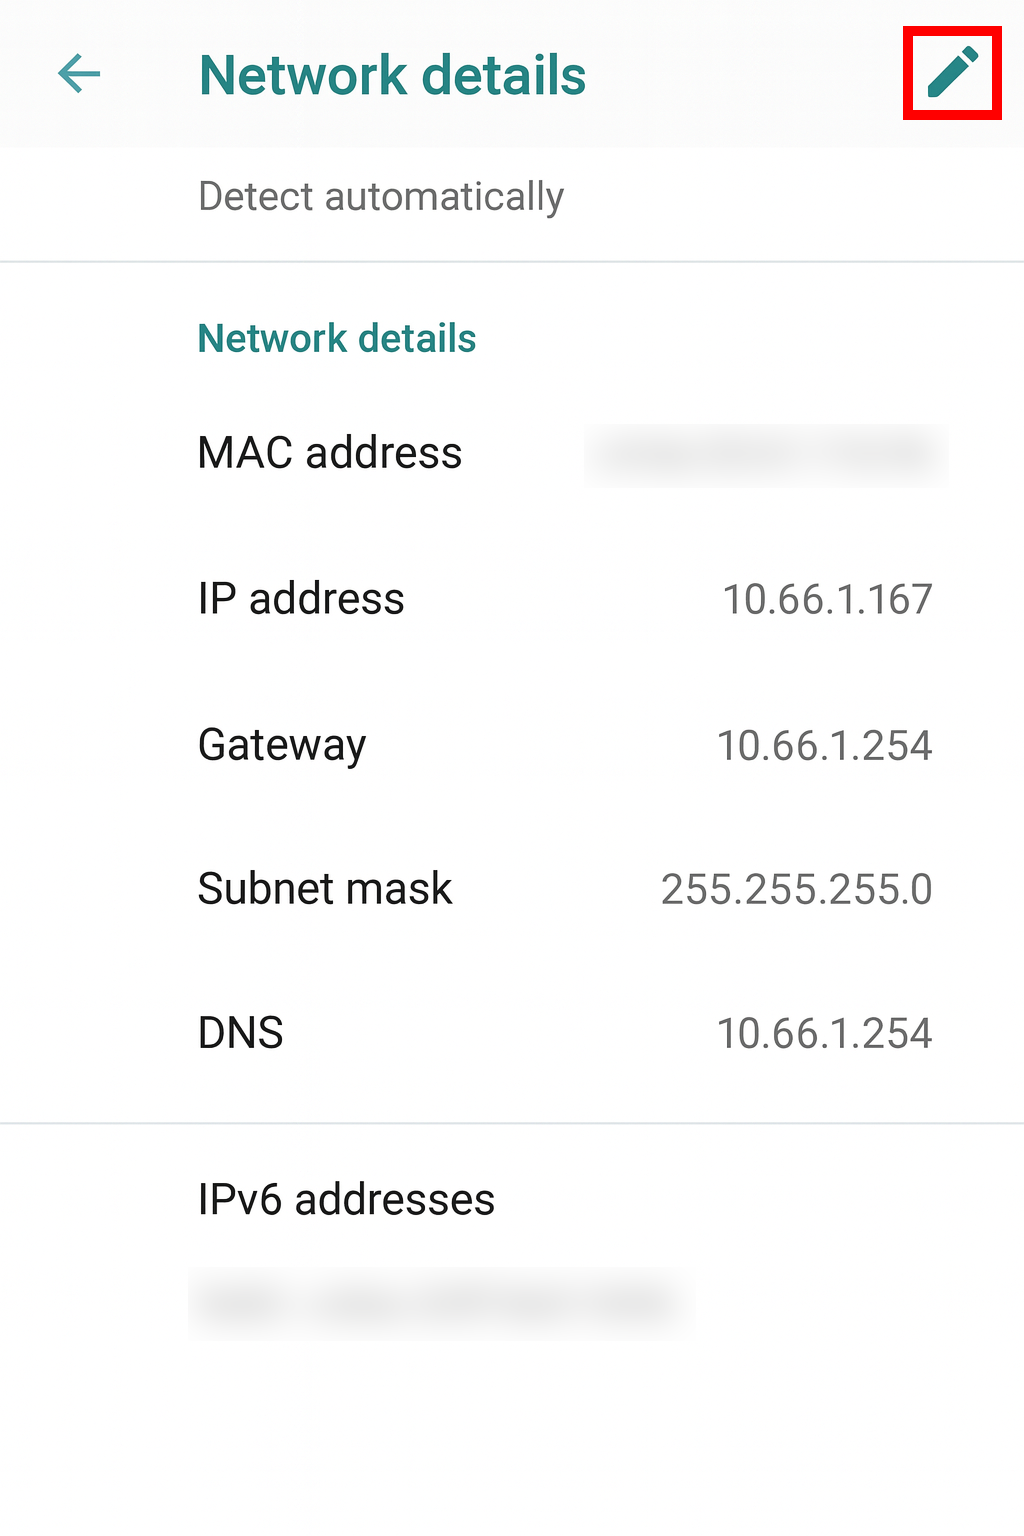 | 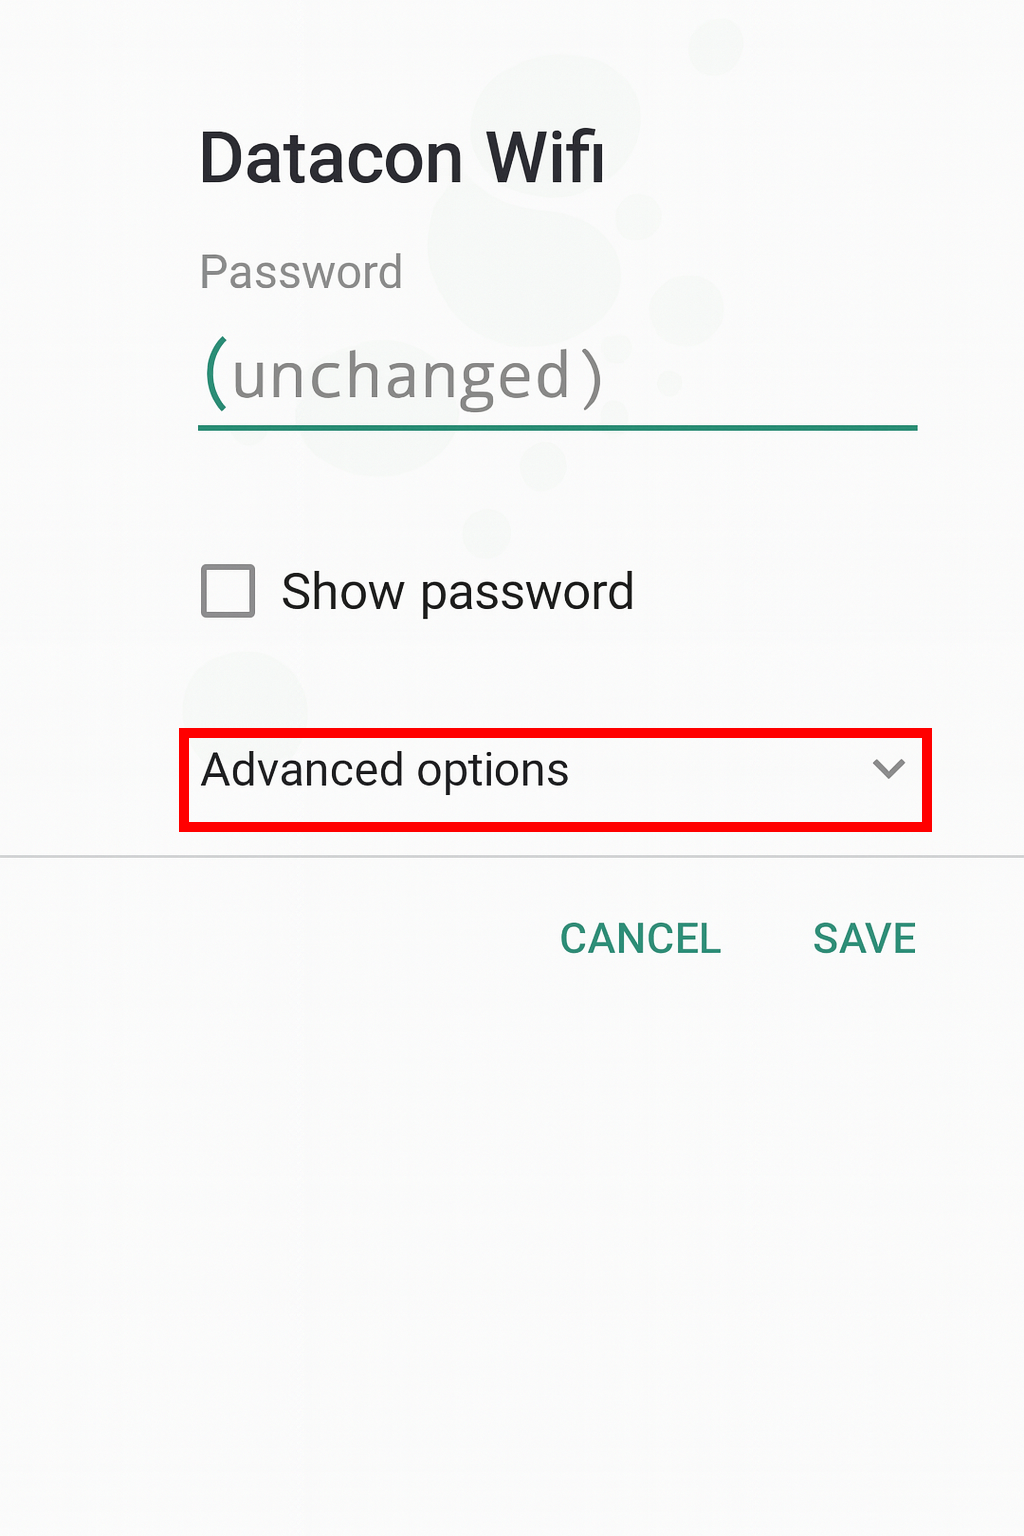 | 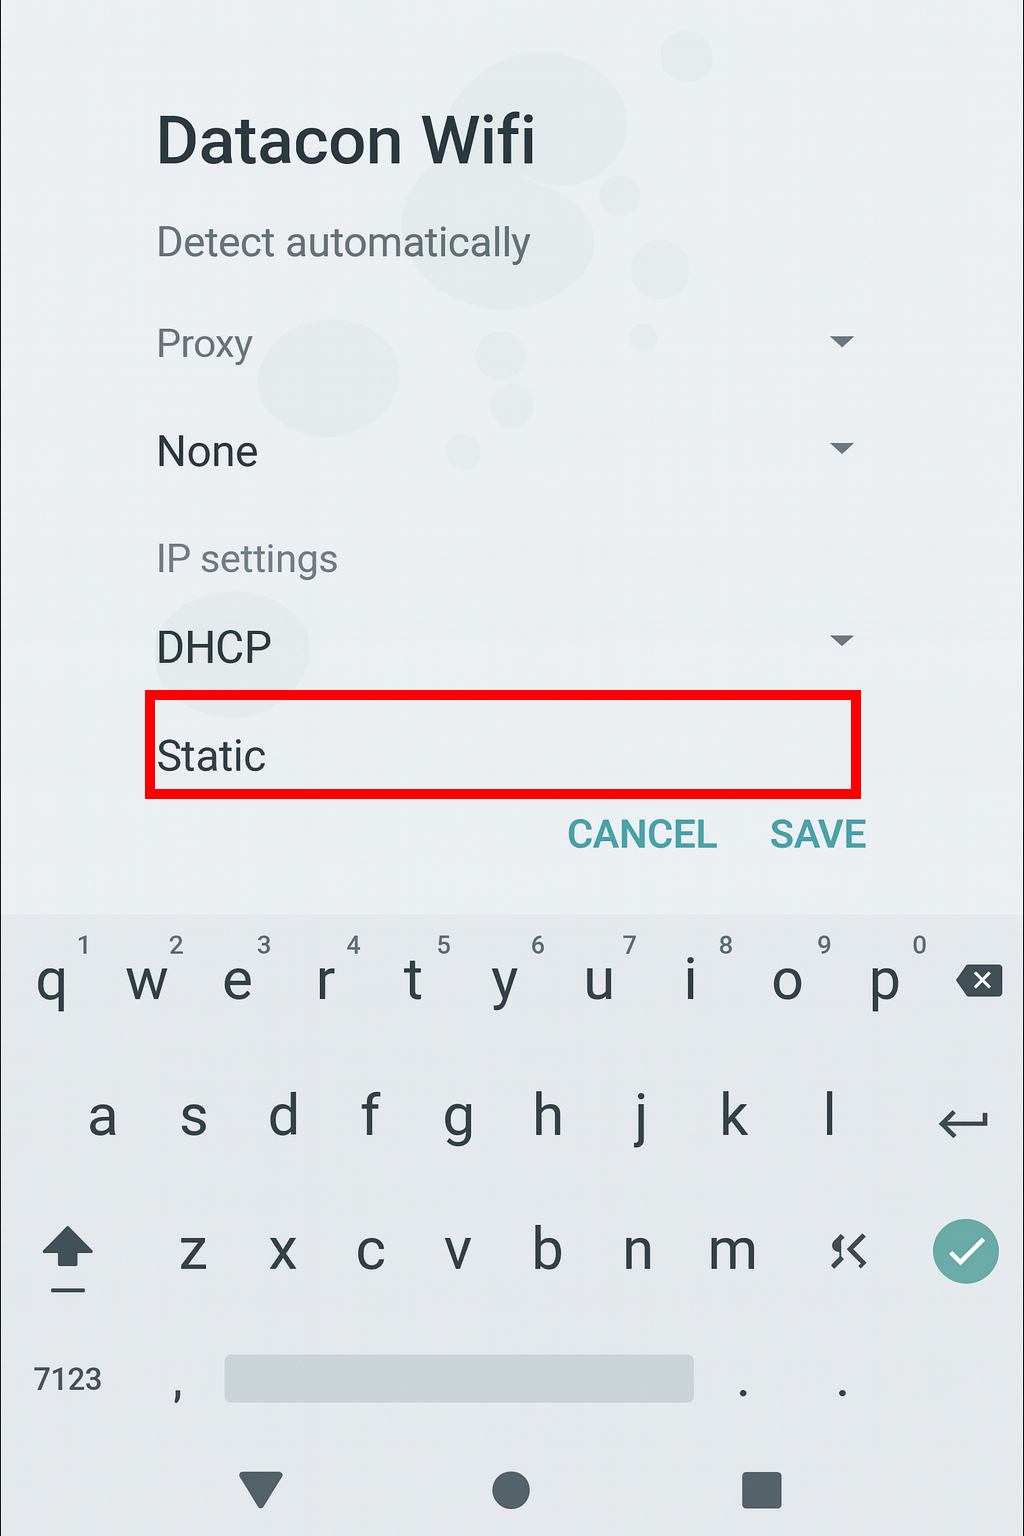 |
| 13. Enter your IP address and gateway. The network prefix length must be 24. Scroll down. | 14. Enter your DNS. | 15. Press “Save.” |
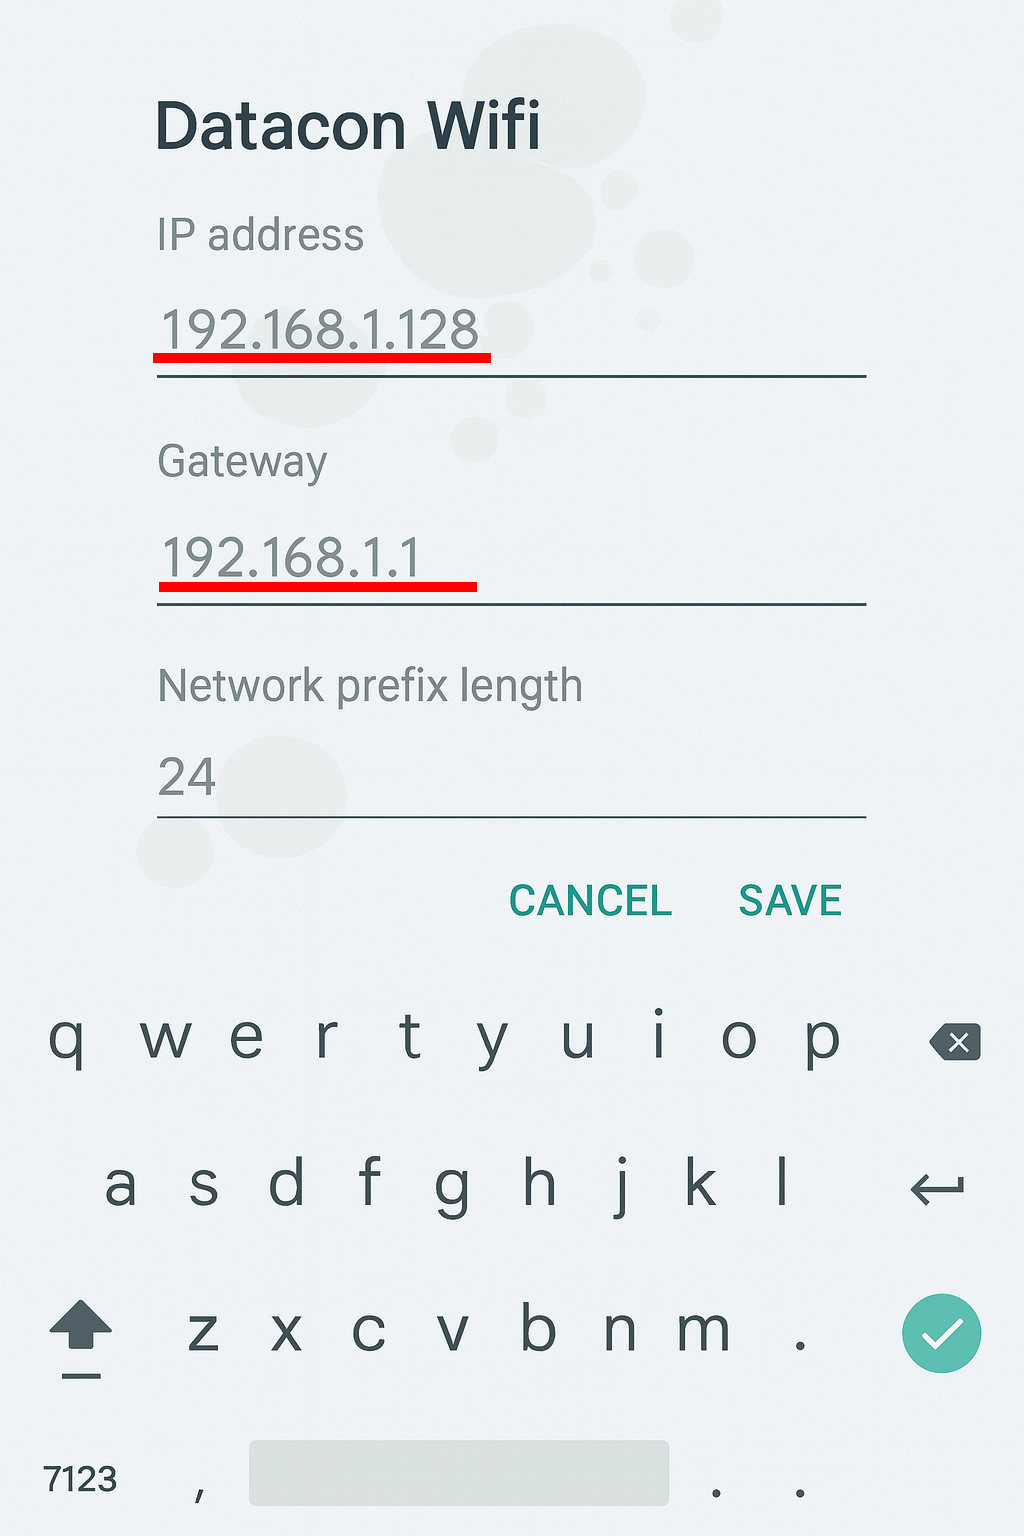 | 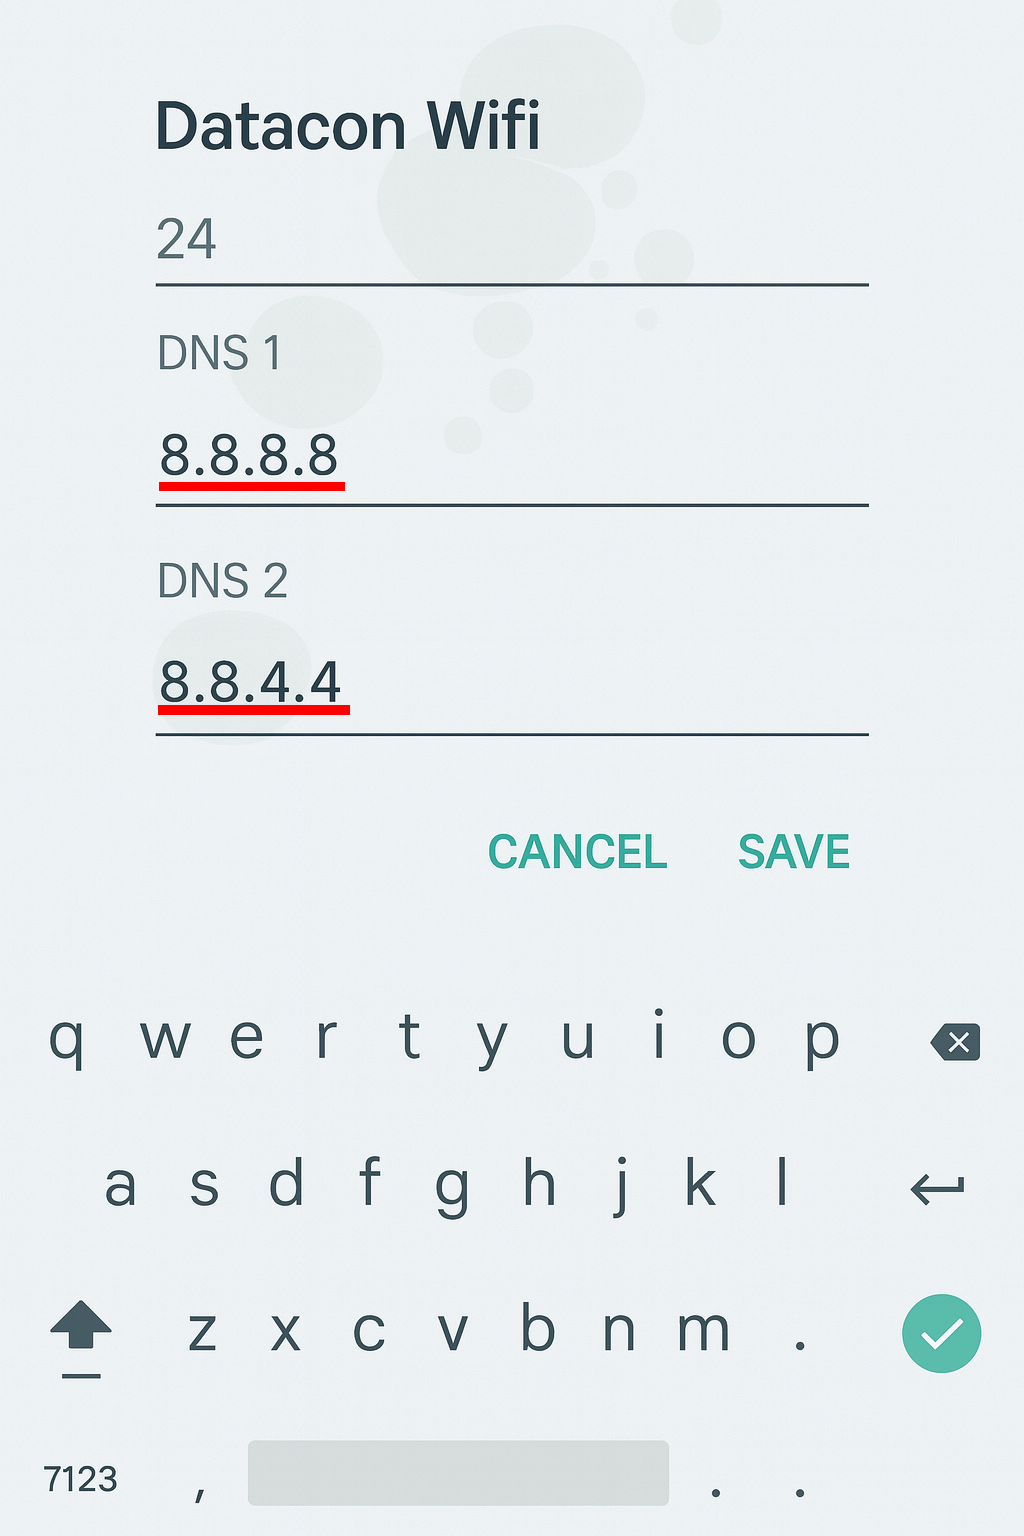 | 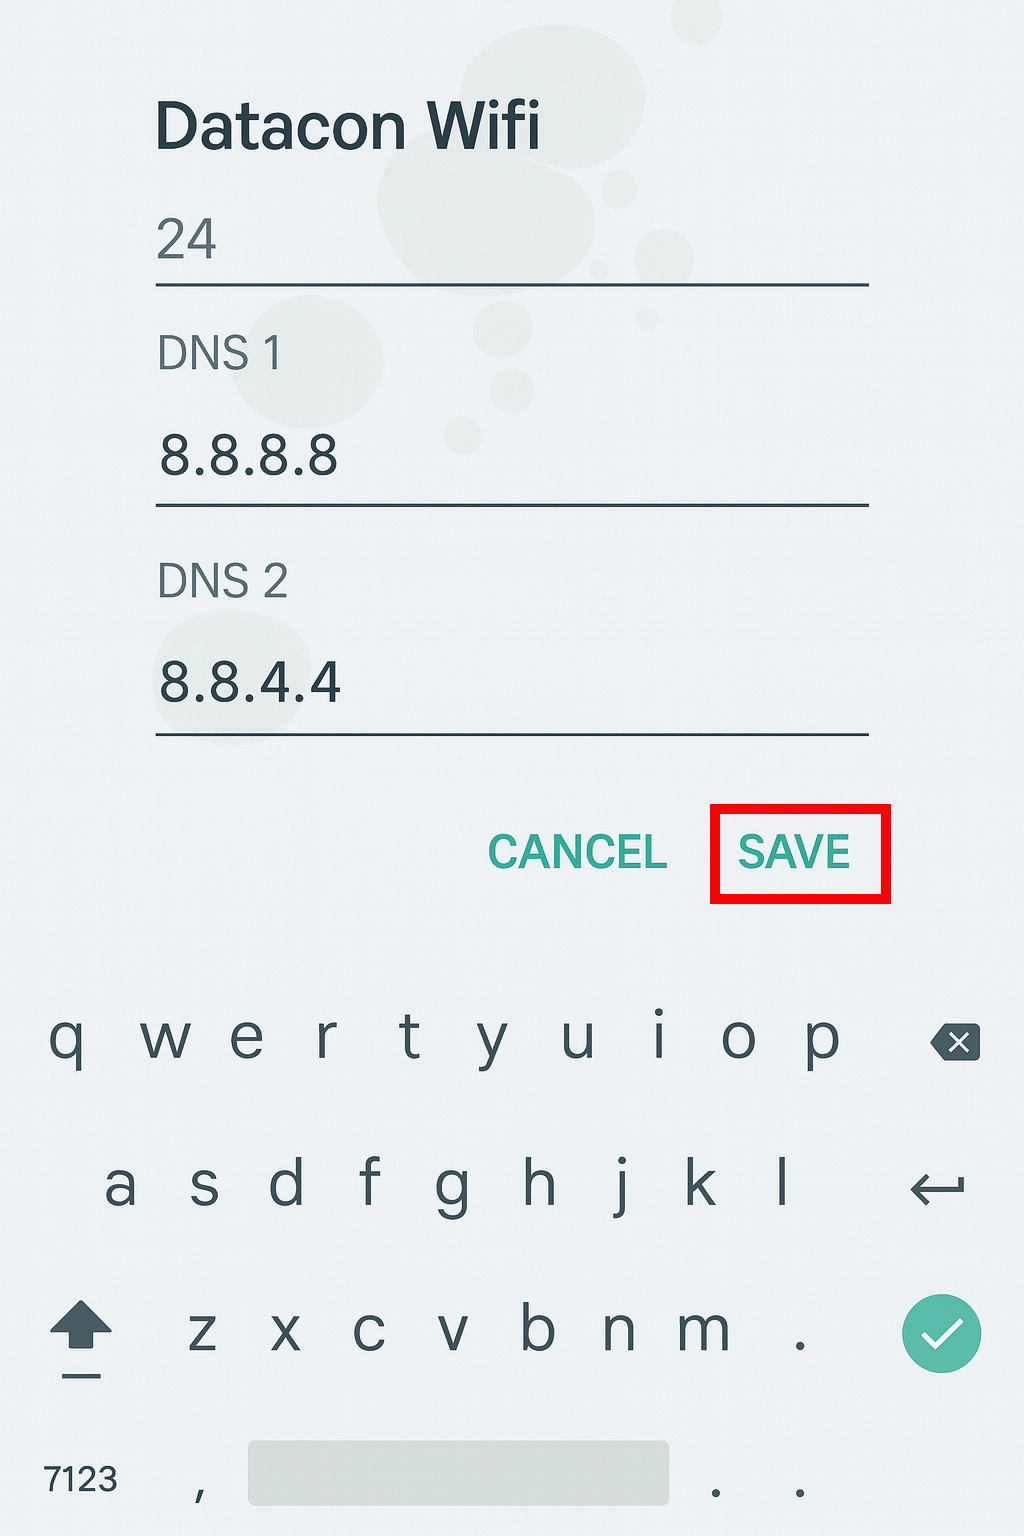 |
2. Activate the settings
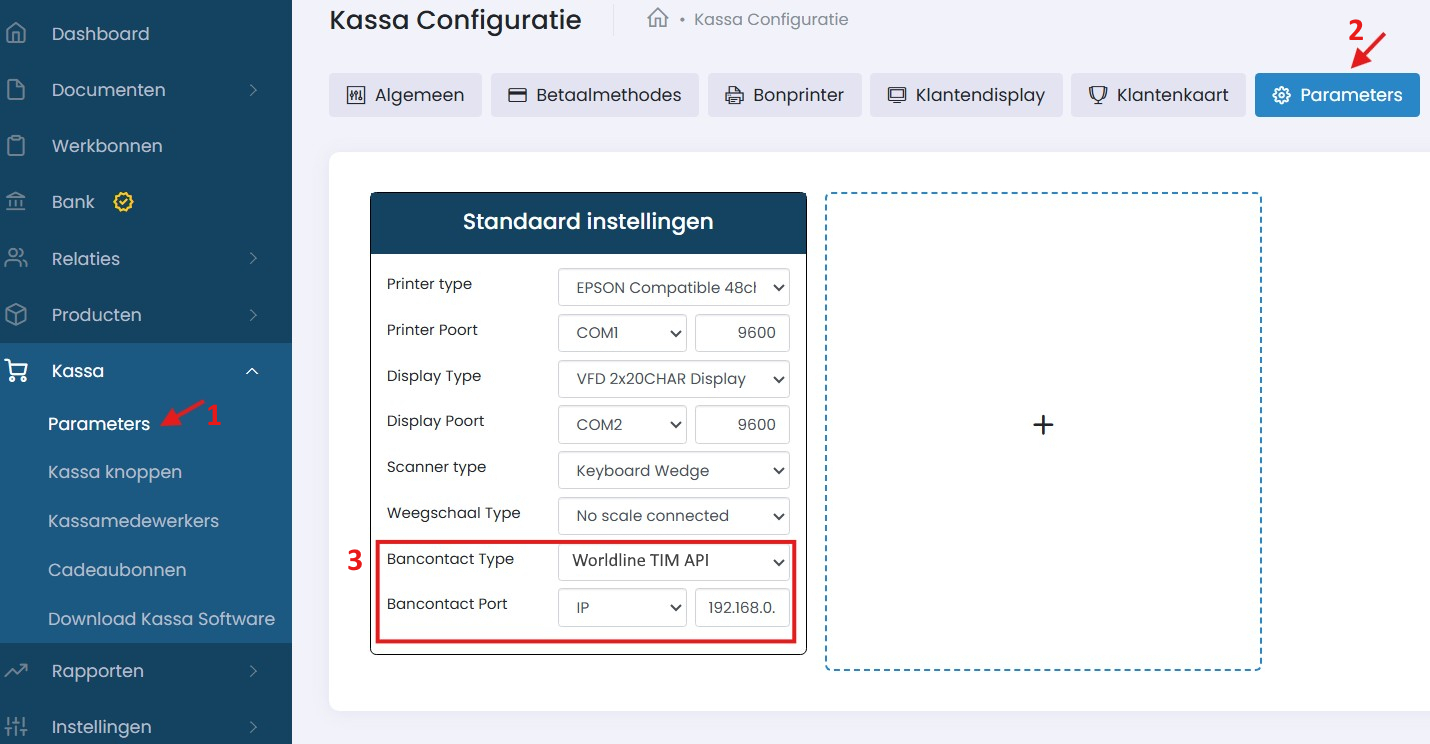
In this final step, we configure through the Onlinefact back office that your POS system should send all payment terminal commands to the terminal.
Select “Worldline TIM API” for Bancontact Type and “IP” for Bancontact Port, using the IPv4 address you noted earlier.
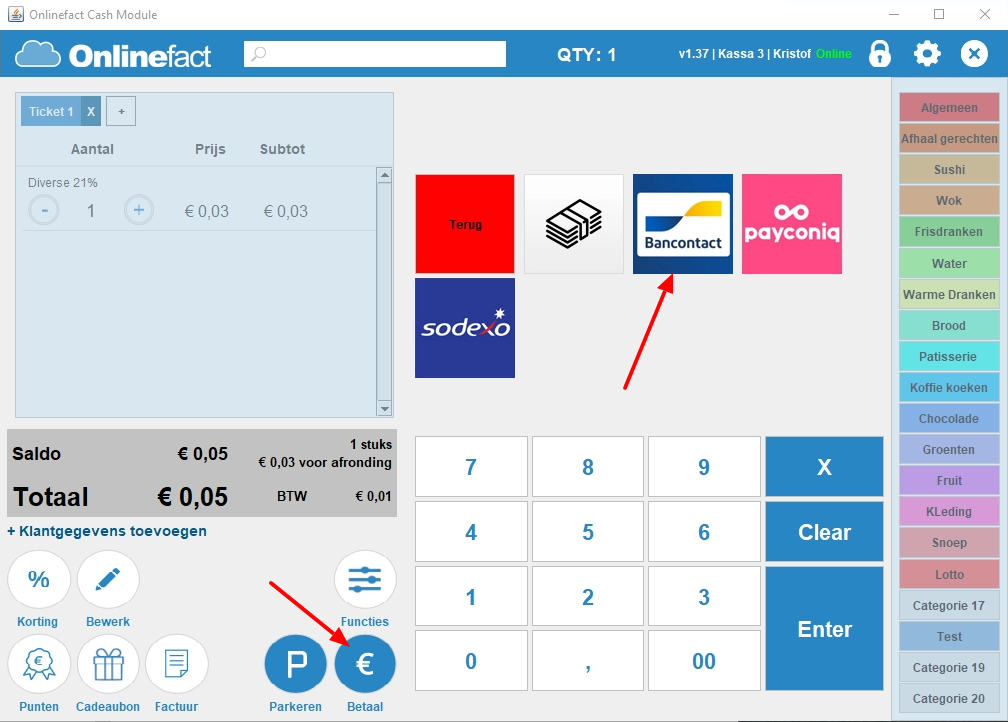
3. Testing
Restart the POS software so the new parameters take effect. Create a new sale and select “Bancontact” or “Credit Card” under payment methods.