Setting up Lane 5000, Move 5000, or Desk 5000 Ingenico/Axepta
Connecting the payment terminal to your Onlinefact cash register requires several steps on both the cash register and the payment terminal.
- Set a static IP address on the cash register
- Configure the payment terminal
- Activate settings in the Onlinefact Backoffice
- Perform a test
1. Configure a static IP address on the cash register
|
|
|
|


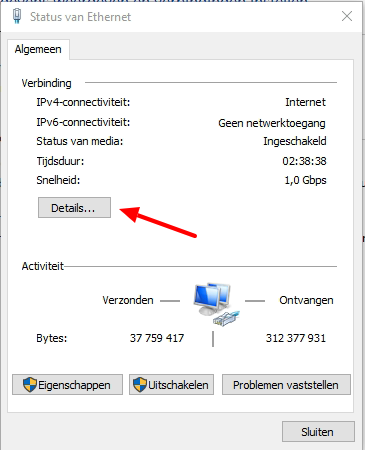
In your Windows settings, go to "Network and Internet" > "Network and Sharing Center," and then click on "Ethernet." In the next screen, click on "Details."
|
|
|
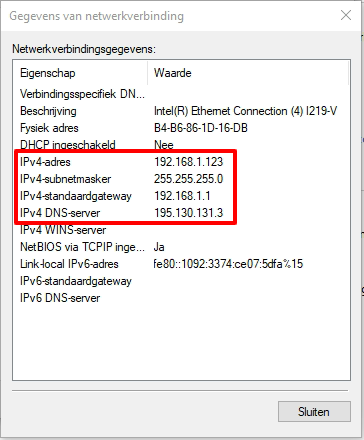
Take note of the values you see because you'll need them later!
You will definitely need this information:
IPv4 address : ……………
IPv4 Subnet Mask : ……………
IPv4 Default Gateway : ……………
IPv4 DNS Server : ……………
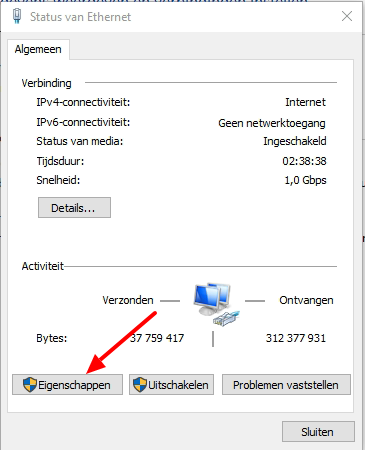
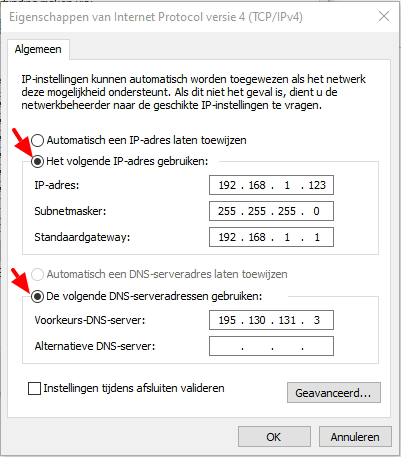
Close the window and select "Properties" in the "Ethernet Status" menu. In the new window, first click on "Internet Protocol Version 4 (TCP/IPv4)" and then on "Properties."
|
|
|

Enter the information you noted earlier and confirm with "OK."
2. Configure the payment terminal
| 1. Press the gray button (DESK, MOVE) or the F button (LANE) to enter the menu. | 2. Select 'Cash Register Menu.' | 3. Choose 'Settings Menu.' |
 |  |  |
| 4. Enter the password: 2009 | 5. Choose 'Change Connection.' | 6. Confirm that you want to change with the green button. |
 |  |  |
| 7. Choose 'TCP/IP.' | 8. Select 'IP Address.' | 9. Enter the IPv4 address you noted earlier. |
 |  |  |
| 10. The Port number should normally be set to 10000. | 11. Confirm with the green button. | 12. The terminal will restart now -> OK. |
 |  |  |
3. Activate settings
In this final step, we will configure the Onlinefact backoffice to send all payment terminal commands to the terminal.
Select "Ingenico CTAP" for Bancontact Type and "IP" for Bancontact Port with the IPv4 address you used earlier.

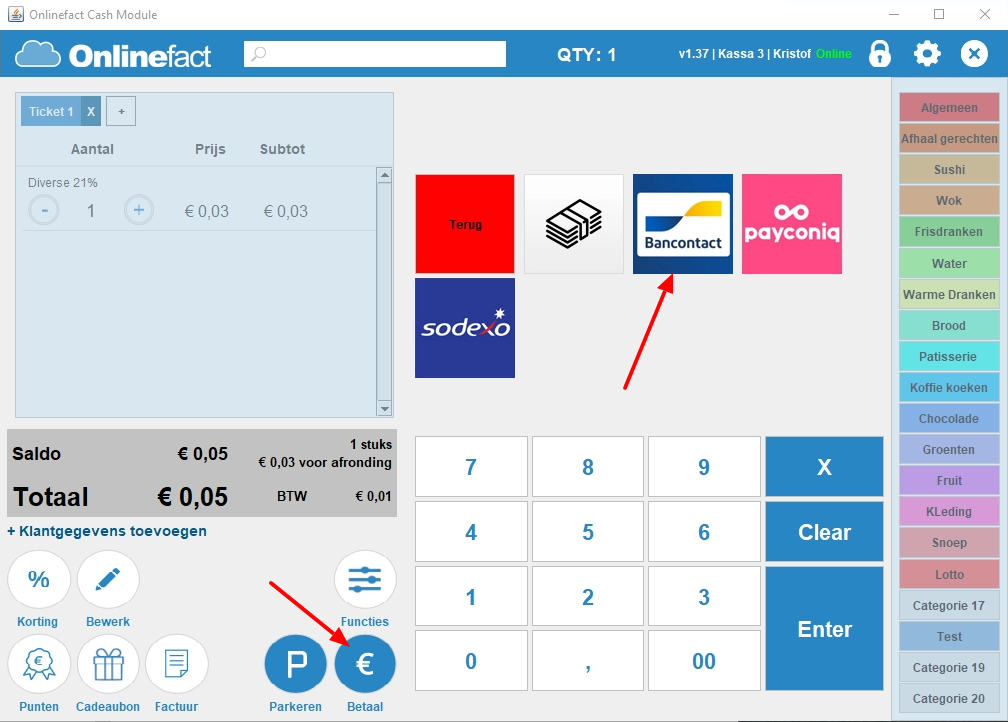
4. Testing
Restart the cash register software to activate the new parameters. Now, create a sale and select "Bancontact" or "Credit Card" as the payment method.