How do I enter a purchase invoice?
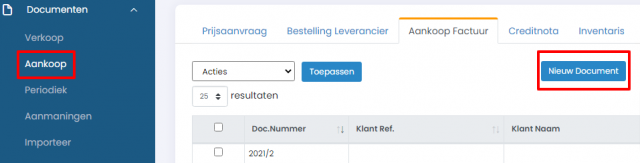
To enter a purchase invoice in Onlinefact, start by clicking on "documents" > "purchase" and then on "new document."
Onlinefact will create a new document for you. Open the document by clicking on it in the table.
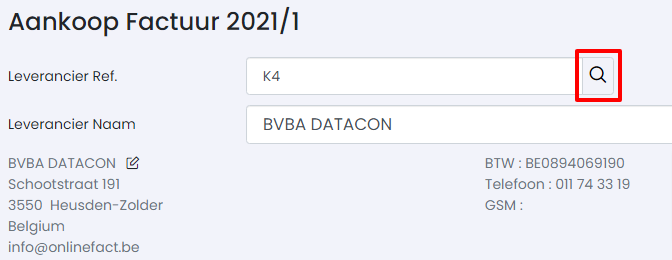
Now, enter the supplier by typing a part of their name in the "ref" field, and then click on the search icon.
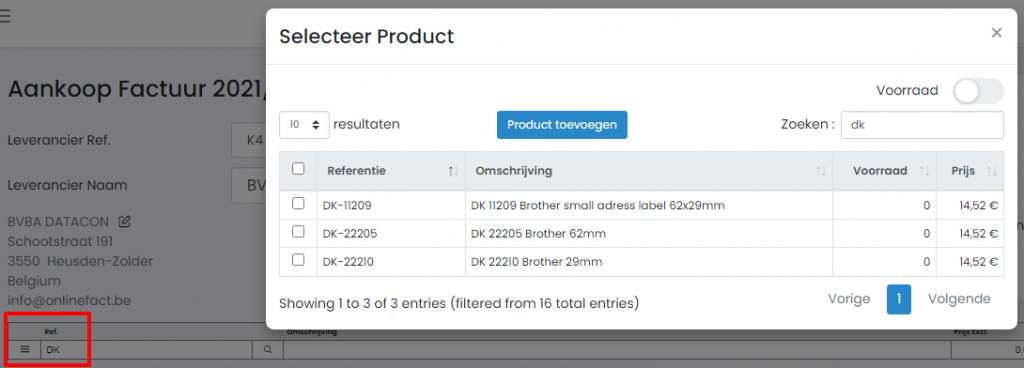
To add items, enter the product reference or part of the name in the "Ref." field. Then, press ENTER. If you have a scanner connected to your computer, you can also scan barcodes.
If your supplier is a foreign company, and you selected "0% intracommunity" for VAT when creating the relationship, Onlinefact will automatically apply this VAT rate across the entire document when you call up this supplier.
You enter the price excluding VAT in "price excl" and the quantity. If you manage your inventory in Onlinefact, the inventory will be updated immediately. If the VAT code needs to be changed, update it before entering the "price excl."
Tip: If you want to enter an expense instead of a product (e.g., shipping, internet, electricity, furniture, etc.), first create a new product ("products" -> "all products" -> "new product") with a price of "0." You can then manually override this price on your documents each time. This ensures that the total amount on the invoice is correct, and you can enter complete accounting information in Onlinefact to later send to your accounting firm via "export accounting."

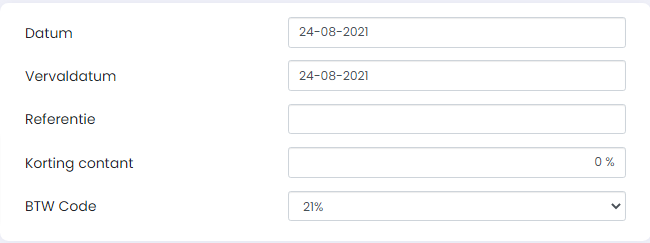
Adjust the date(s) and add references if necessary.
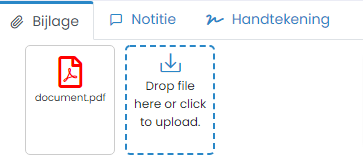
In this step, also attach the original invoice in PDF format. This way, you'll have a digital archive of all your purchase invoices. You can easily send these PDF attachments to your accountant later via "export accounting."
Once everything is filled in, click "save."
Tip: You can use the "labels" button to print stickers for the entered products if needed.