Connecting your payment terminal with the Onlinefact POS requires several steps, both on the POS and the payment terminal.
- Configure the payment terminal
- Activate the settings in the Onlinefact Backoffice
- Run a test
1. Configure the payment terminal
| 1. Quickly tap the hidden black bar at the top of the screen several times. | 2. Press “Exit Kiosk Mode”. | 3. Password: 166831 |
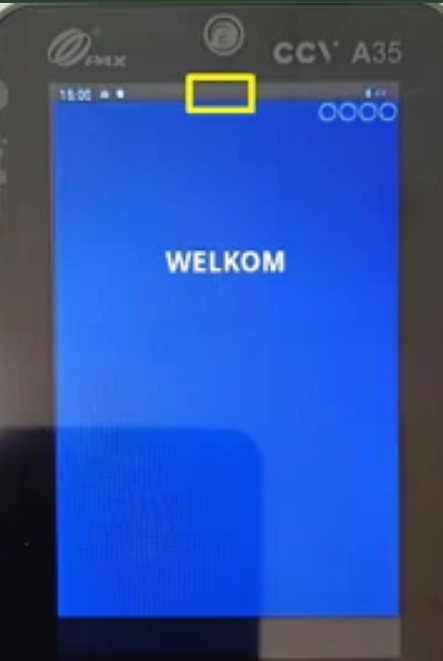 |  | 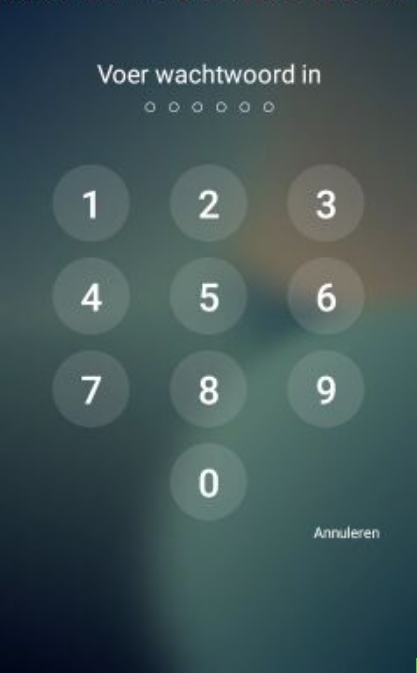 |
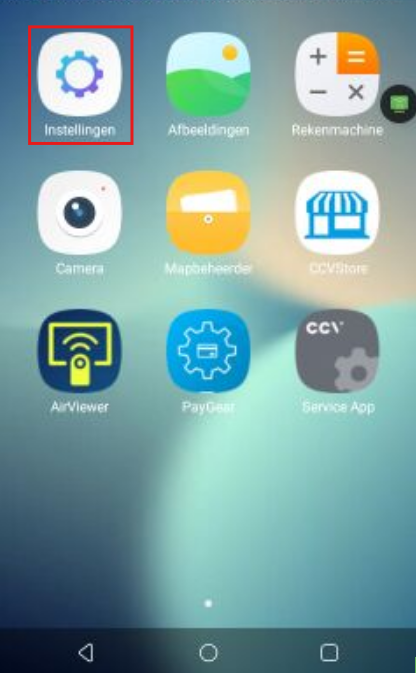
| 4. Tap “Leave Kiosk Mode”. | 5. Press the home button (round circle) at the bottom bar. | 6. Open “Settings”. |
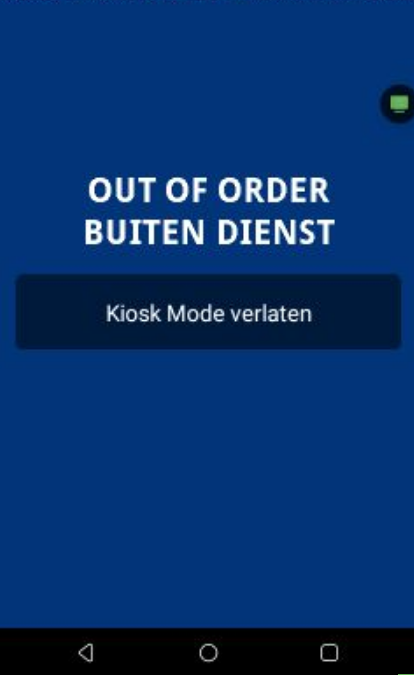 | 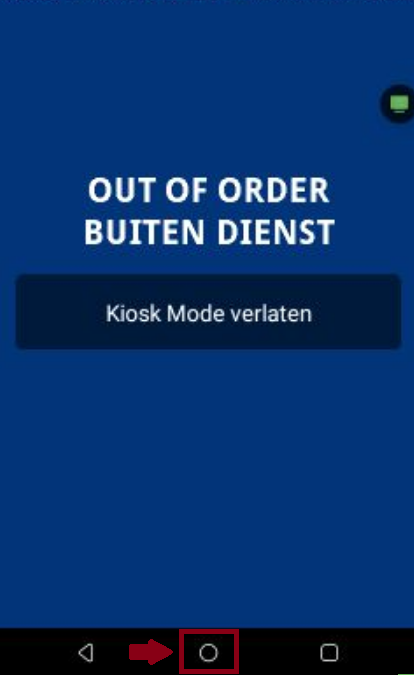 |  |
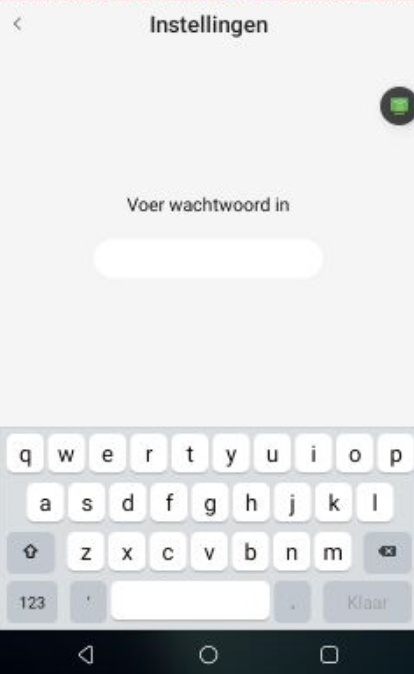
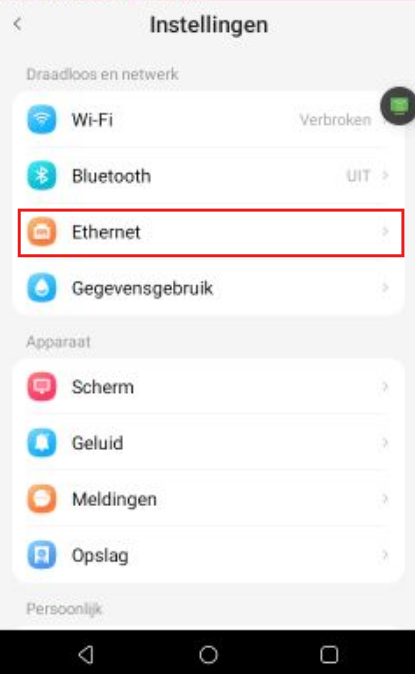
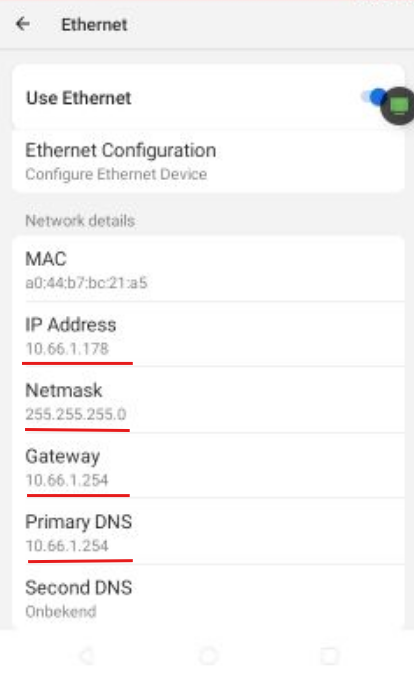
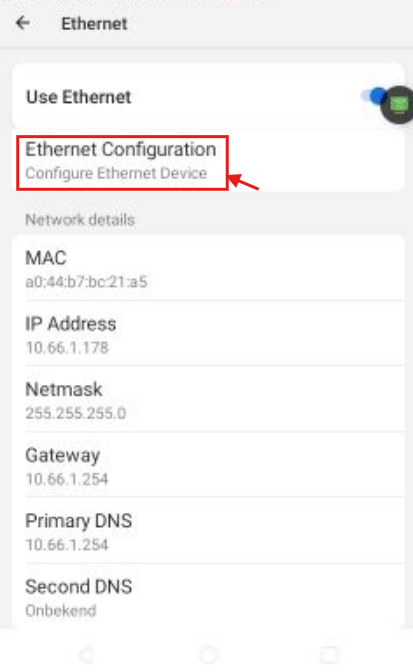
| 7. Password: 000000 | 8. Go to “Ethernet”. | 9. Write down the following: IP Address, Netmask, Gateway, Primary DNS, and Secondary DNS (if shown). You’ll need these later. |
 |  |  |
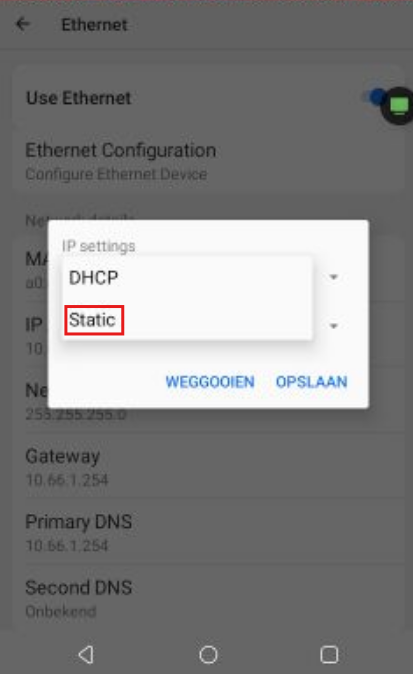
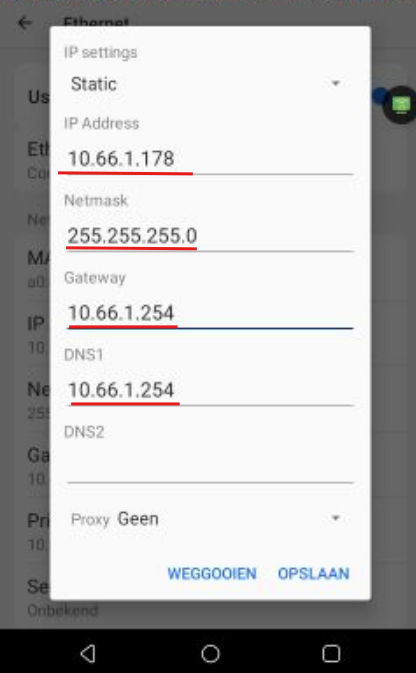
| 10. Open “Ethernet Configuration”. | 11. Change “DHCP” to “Static”. | 12. Enter the details from step 9. Keep your IP Address noted — you’ll need it later. |
 |  |  |
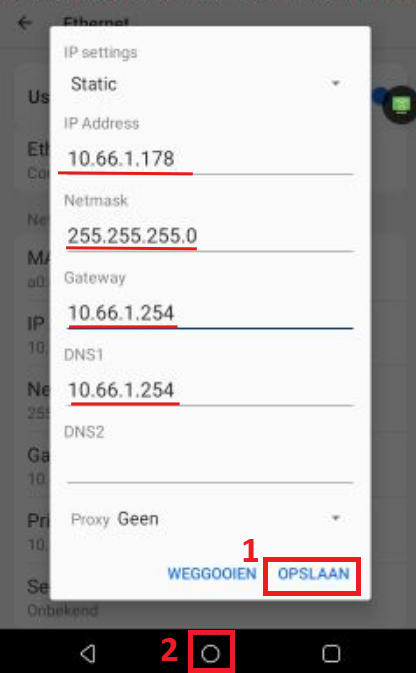
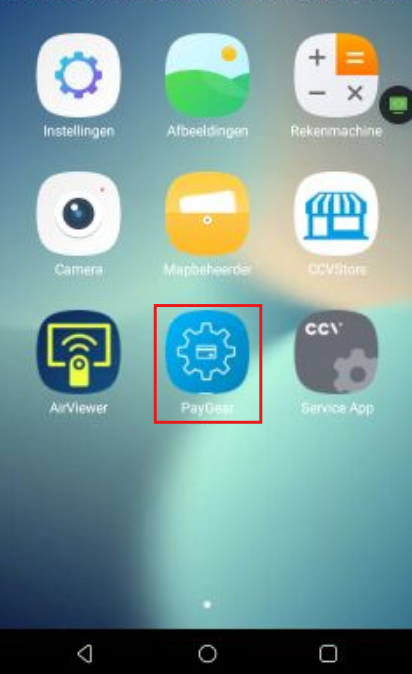
| 13. Press “Save”, then the home button (round circle) at the bottom bar. | 14. Open “PayGear”. | |
 |  |
2. Activate the settings
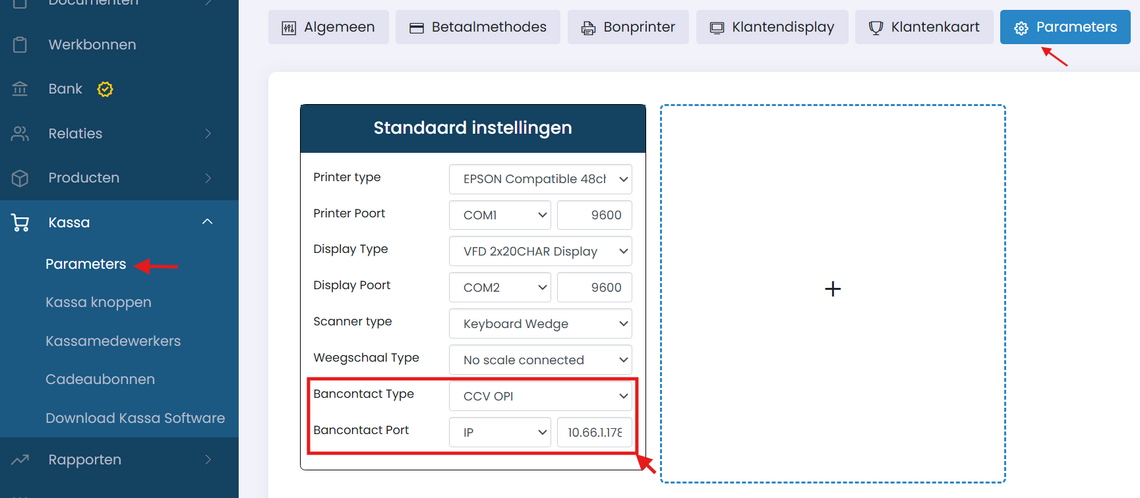
In this step, you’ll indicate in the Onlinefact backoffice that your POS should send all payment commands to the terminal.
Under “Bancontact Type”, select “CCV OPI”. Under “Bancontact Port”, select “IP” and enter the same IPv4 address used earlier.
3. Testing
Restart the POS software so the new parameters take effect. Create a sale and, when prompted for payment, select “Bancontact” or “Credit Card”.
